스프링 프로젝트 생성 후 처음으로 접속되는 메인 페이지를 세팅해보고자 한다.
- 메인 페이지 jsp 파일 생성
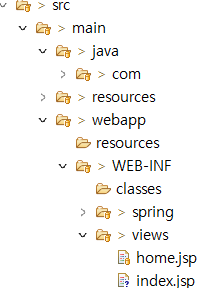
src/main/webapp/WEB-INF/views 에 index.jsp 파일을 만들어 줬다.
index.jsp
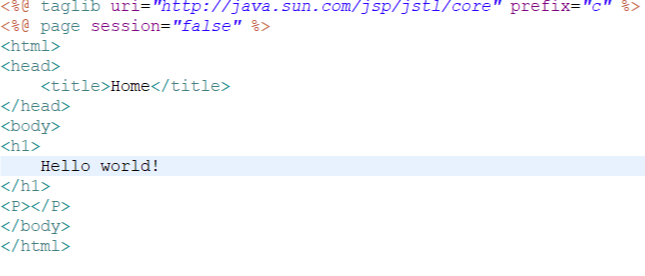
<%@ taglib uri="http://java.sun.com/jsp/jstl/core" prefix="c" %>
<%@ page session="false" %>
<html>
<head>
	<title>Home</title>
</head>
<body>
<h1>
	Hello world!
</h1>
<P></P>
</body>
</html>
- 메인페이지 매핑
homeController.java

package com.styleCommunity.web;

import java.text.DateFormat;
import java.util.Date;
import java.util.Locale;

import org.slf4j.Logger;
import org.slf4j.LoggerFactory;
import org.springframework.stereotype.Controller;
import org.springframework.ui.Model;
import org.springframework.web.bind.annotation.RequestMapping;
import org.springframework.web.bind.annotation.RequestMethod;

@Controller
public class HomeController {

	private static final Logger logger = LoggerFactory.getLogger(HomeController.class);

	@RequestMapping(value = "/", method = RequestMethod.GET)
	public String home(Locale locale, Model model) {
		logger.info("Welcome home! The client locale is {}.", locale);

		Date date = new Date();
		DateFormat dateFormat = DateFormat.getDateTimeInstance(DateFormat.LONG, DateFormat.LONG, locale);

		String formattedDate = dateFormat.format(date);

		model.addAttribute("serverTime", formattedDate );

		return "home";
	}

	@RequestMapping(value = "/styleCommunity", method = RequestMethod.GET)
	public String index(Model model) {
		logger.info("Get MainPage");

		return "index";
	}

}
/styleCommunity 라는 경로로 매핑 시켜줬다.
여기서 logger 를 사용하면 페이지에 접속할 경우 로그에 표시해주므로
매핑이 잘 되었는지 확인할 수 있다.
나중에 에러가 어디서 발생했는지 확인할 때도 유용함.
- 테스트
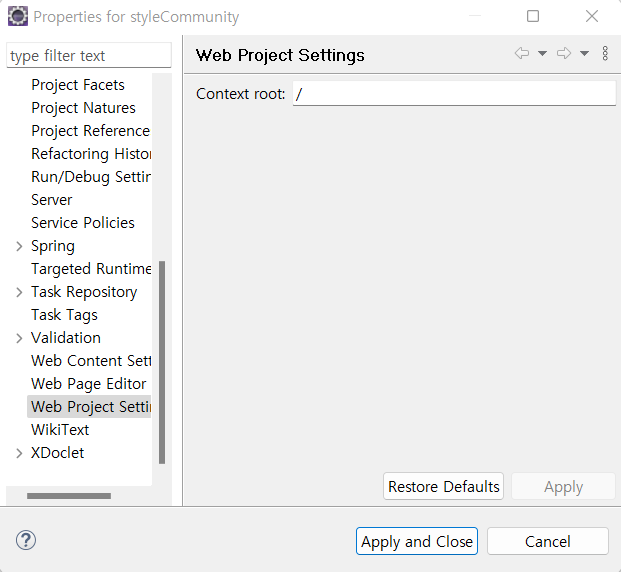
프로젝트의 Properties 에서 Context root 가 잘 세팅되어 있는지 먼저 확인한다.
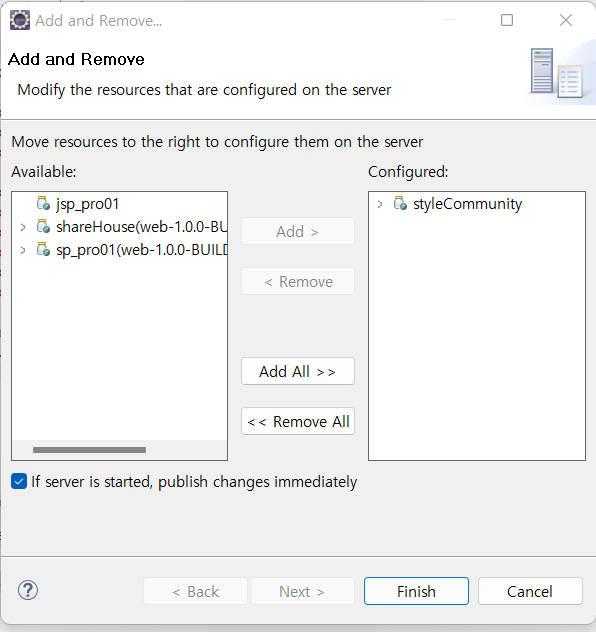
Tomcat 서버를 우클릭하여 Add and Remove 에 접속 후
해당 프로젝트를 add 시켜준다.
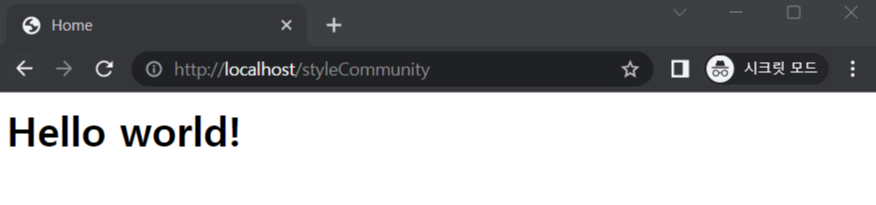
서버를 켜주고, 아까 설정했던 localhost/styleCommunity 경로로 접속해주면
위와 같은 화면이 출력되고,

콘솔에서도 잘 접속되었음을 확인할 수 있다.
- 모듈화
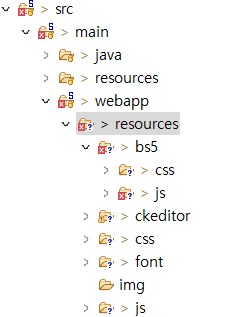
src/main/webapp/resources 에 이전에 플젝 했을 때 썼던 부트스트랩 파일들을 넣어줬다.
부트스트랩 홈페이지에서 다운 받아서 넣으면 된다.
https://getbootstrap.kr/docs/5.2/getting-started/download/
다운로드
Bootstrap을 다운로드하여 컴파일된 CSS 및 JavaScript, 소스 코드를 얻거나 npm, RubyGems 등과 같은 즐겨쓰는 패키지 관리자를 사용해서 포함시키세요.
getbootstrap.kr
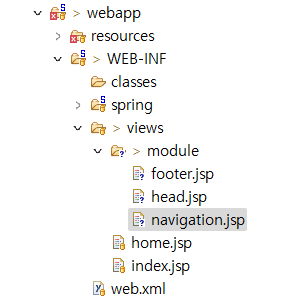
src/main/webapp/WEB-INF/views 에 module 파일도 추가해준다.
거의 모든 페이지에 쓰는 모듈은 따로 만들어두는게 편하다.
head.jsp
<%@ page language="java" contentType="text/html; charset=UTF-8"
    pageEncoding="UTF-8"%>
<%@ taglib uri="http://java.sun.com/jsp/jstl/core" prefix="c" %>
<%@ taglib uri="http://java.sun.com/jsp/jstl/fmt" prefix="fmt" %>
<%@ taglib uri="http://java.sun.com/jsp/jstl/functions" prefix="fn" %>
<c:url var="bs5" value="/static/bs5" />
<c:url var="jQuery" value="/static/js" />
<c:url var="cssUrl" value="/static/css" />
<link type="text/css" rel="stylesheet" href="${bs5}/css/bootstrap.min.css">
<link rel="stylesheet" href="https://cdn.jsdelivr.net/npm/bootstrap-icons@1.9.1/font/bootstrap-icons.css">
<link type="text/css" rel="stylesheet" href="${cssUrl}/default.css">
<link type="text/css" rel="stylesheet" href="${cssUrl}/navigation.css">
<link type="text/css" rel="stylesheet" href="${cssUrl}/footer.css">
<script type="text/javascript" src="${bs5}/js/bootstrap.min.js"></script>
<script type="text/javascript" src="${jQuery}/jquery-3.6.0.min.js"></script>
head 에는 아까 추가해줬던 부트스트랩 파일들을 실행시켜주는 코드를 써준다.
navigation.jsp
<%@ page language="java" contentType="text/html; charset=UTF-8"
    pageEncoding="UTF-8"%>
<%@ taglib uri="http://java.sun.com/jsp/jstl/core" prefix="c" %>
<%@ taglib uri="http://java.sun.com/jsp/jstl/fmt" prefix="fmt" %>
<%@ taglib uri="http://java.sun.com/jsp/jstl/functions" prefix="fn" %>
<div id="">

</div>
footer.jsp
<%@ page language="java" contentType="text/html; charset=UTF-8"
    pageEncoding="UTF-8"%>
<%@ taglib uri="http://java.sun.com/jsp/jstl/core" prefix="c" %>
<%@ taglib uri="http://java.sun.com/jsp/jstl/fmt" prefix="fmt" %>
<%@ taglib uri="http://java.sun.com/jsp/jstl/functions" prefix="fn" %>
<div class="">

</div>
navigation 과 footer 에는 JSTL 선언만 해두었다.
index.jsp
<%@ page language="java" contentType="text/html; charset=UTF-8"
    pageEncoding="UTF-8"%>
<%@ taglib uri="http://java.sun.com/jsp/jstl/core" prefix="c" %>
<%@ taglib uri="http://java.sun.com/jsp/jstl/fmt" prefix="fmt" %>
<%@ taglib uri="http://java.sun.com/jsp/jstl/functions" prefix="fn" %>
<html>
<head>
	<meta charset="UTF-8">
	<title>Home</title>
	<%@ include file="./module/head.jsp" %>
</head>
<body>
	<header>
		<!-- 상단 네비게이션 -->
		<%@ include file="./module/navigation.jsp" %>
	</header>
	<h1>
		Hello world!
	</h1>
	<footer>
		<!-- 하단 푸터 -->
		<%@ include file="./module/footer.jsp" %>
	</footer>
</body>
</html>
메인 페이지에도 JSTL 선언을 해주고,
아까 만들어둔 모듈을 include 시켜준다.
혹시 여기서 실행 후 No mapping 에러가 나온다면,
servlet-context.xml 에서 <resources mapping="/static/**" location="/resources/" /> 로 되어있는지 확인!
일단 이렇게 해두고 본격적인 개발은 다음 시간에 ..
'spring' 카테고리의 다른 글
| 스프링 개발일지 (2) : 메인 페이지 html/css 구현 (0) | 2022.11.08 |
|---|---|
| 스프링 개발일지 (0) : 프로젝트 구상 (0) | 2022.11.02 |

